Creating a Sponsorship Box:
- Go to the Sponsorship Box section in Outpost Control Center:

2. Select Add Sponsorship Box:

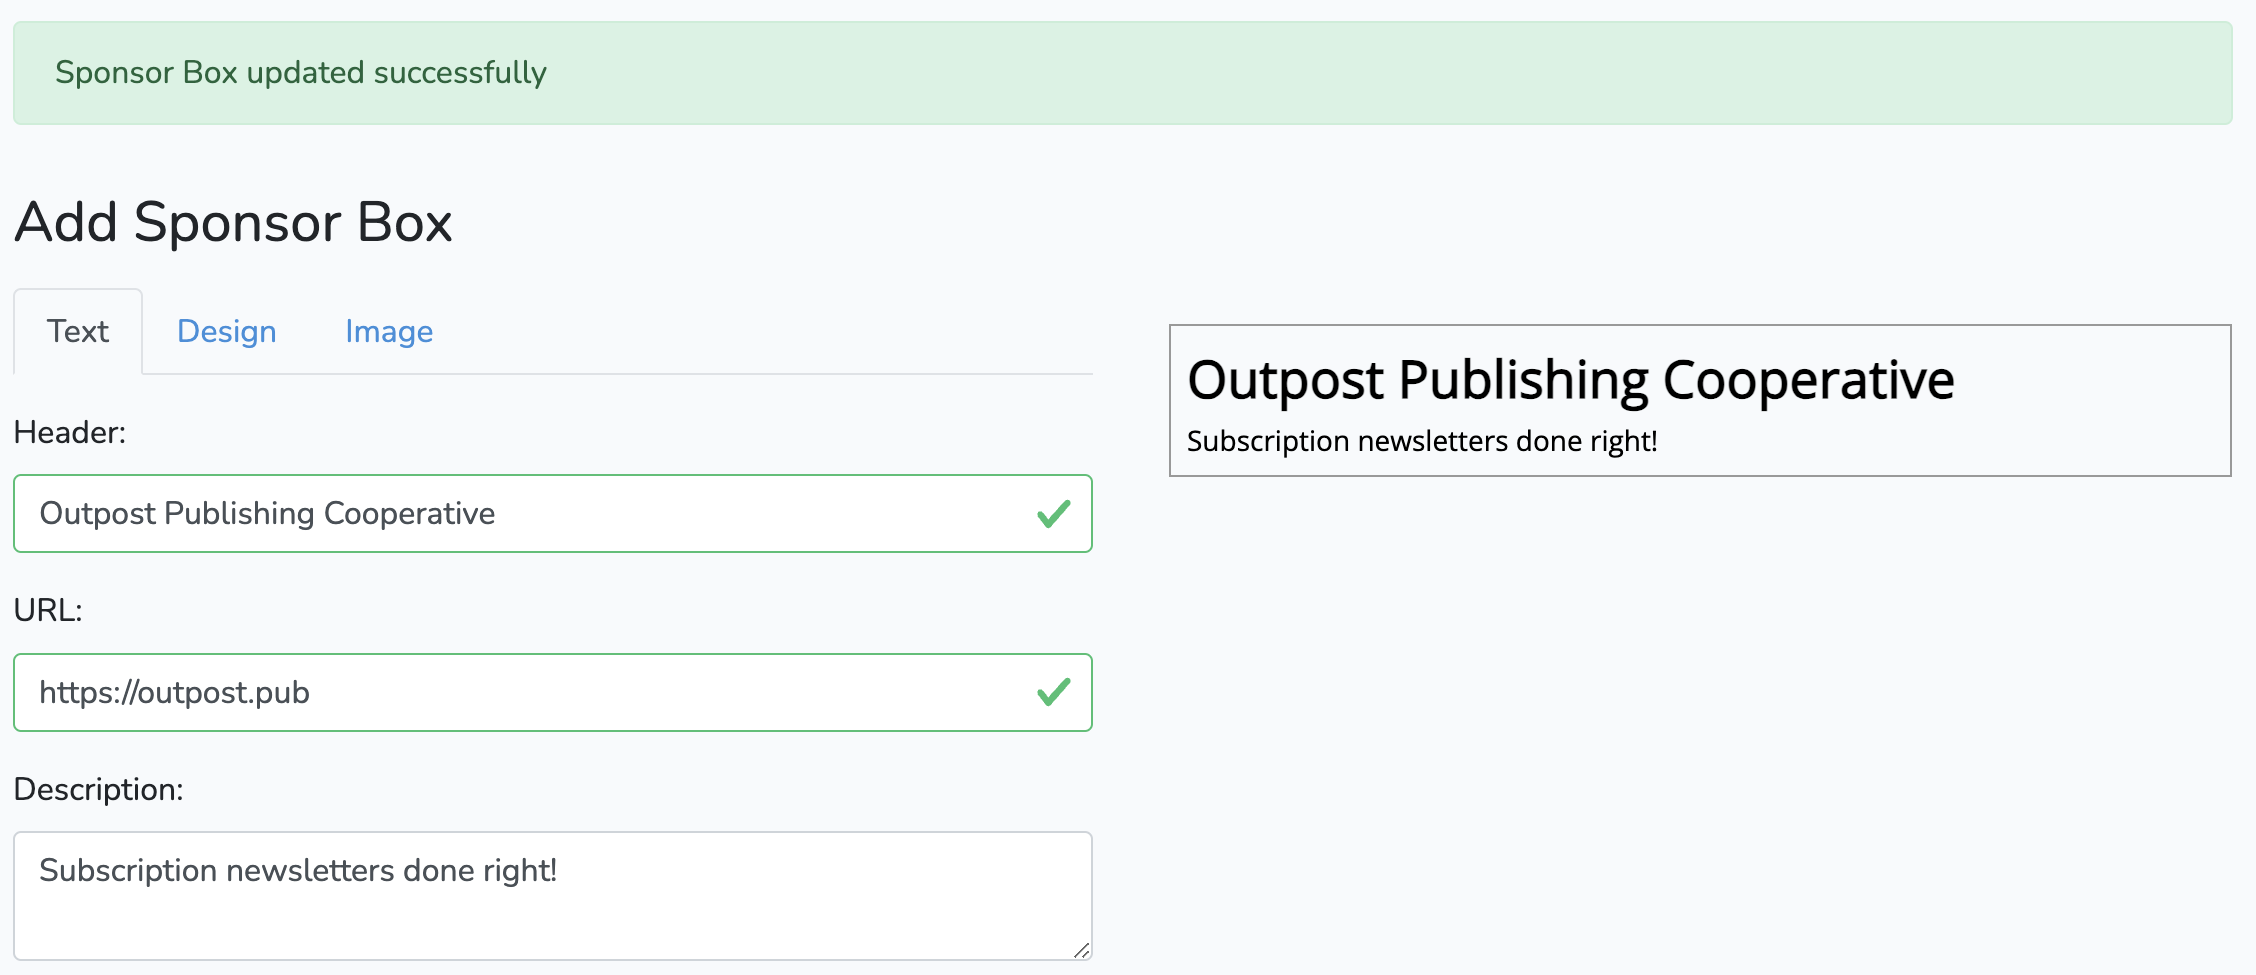
3. Choose the Title. This is likely your Sponsor’s name. You may also want to make it clear this is from a sponsor in the title. Beneath this, put the sponsor's URL for the sponsorship box to direct people to when they click on the box.
Your sponsor may want to track incoming clicks to their site, using some sort of REF or UTM codes appended to the link.

6. Include your sponsor’s desired text and hit save to see it under the title:

5. Under "Add Sponsor Box," select the Image menu:

Upload an image by selecting Browse, try using a square logo for your image. This uploads the image into your Ghost site, and the box resizes it to fit. You will have best results from a square image that isn’t too large.

Hit Save, and you should see the green box at the top and see your image appearing to the left of your text:

Putting a Sponsorship Box in a post and email:
- In the Outpost Control Center, find the Sponsorship Box section to show your library of content.


2. On an existing Sponsorship Box, click Create New Post to launch a new DRAFT post on your site. If you haven’t created one yet, create a Sponsorship Box and then return to the library and choose Create New Post. Nothing is published until you decide to do so.
3. If the new draft post doesn’t open in the editor, click the url in your browser tab and add “/edit” to the end of the url to edit it.
4. Add content to the post and publish/send/save as a draft as you like.
Image Credit: NASA
Go to the main documentation page. Or contact support@outpost.pub if you have questions.


